Light Box Rules:
Use with caution and be gentle!
Do NOT disassemble
No tape or adhesives on the stand or backdrop
Clean up after yourself
Turn off all lights when finished
*Lights can be adjusted left and right, in and out, but NOT up and down.
STEP 1
Turn on both left and right lights. The power button can be found on the side (as shown above).
STEP 2
Turn on the table light. The power button can be found below the table, on the right side.
STEP 3
Adjust left and right lights as needed. Lights can be adjusted in and out by gently pulling and pushing the metal pivoting bar. Lights can be adjusted side to side with the same bar.
NOTE: Lights cannot be moved up and down!
STEP 4
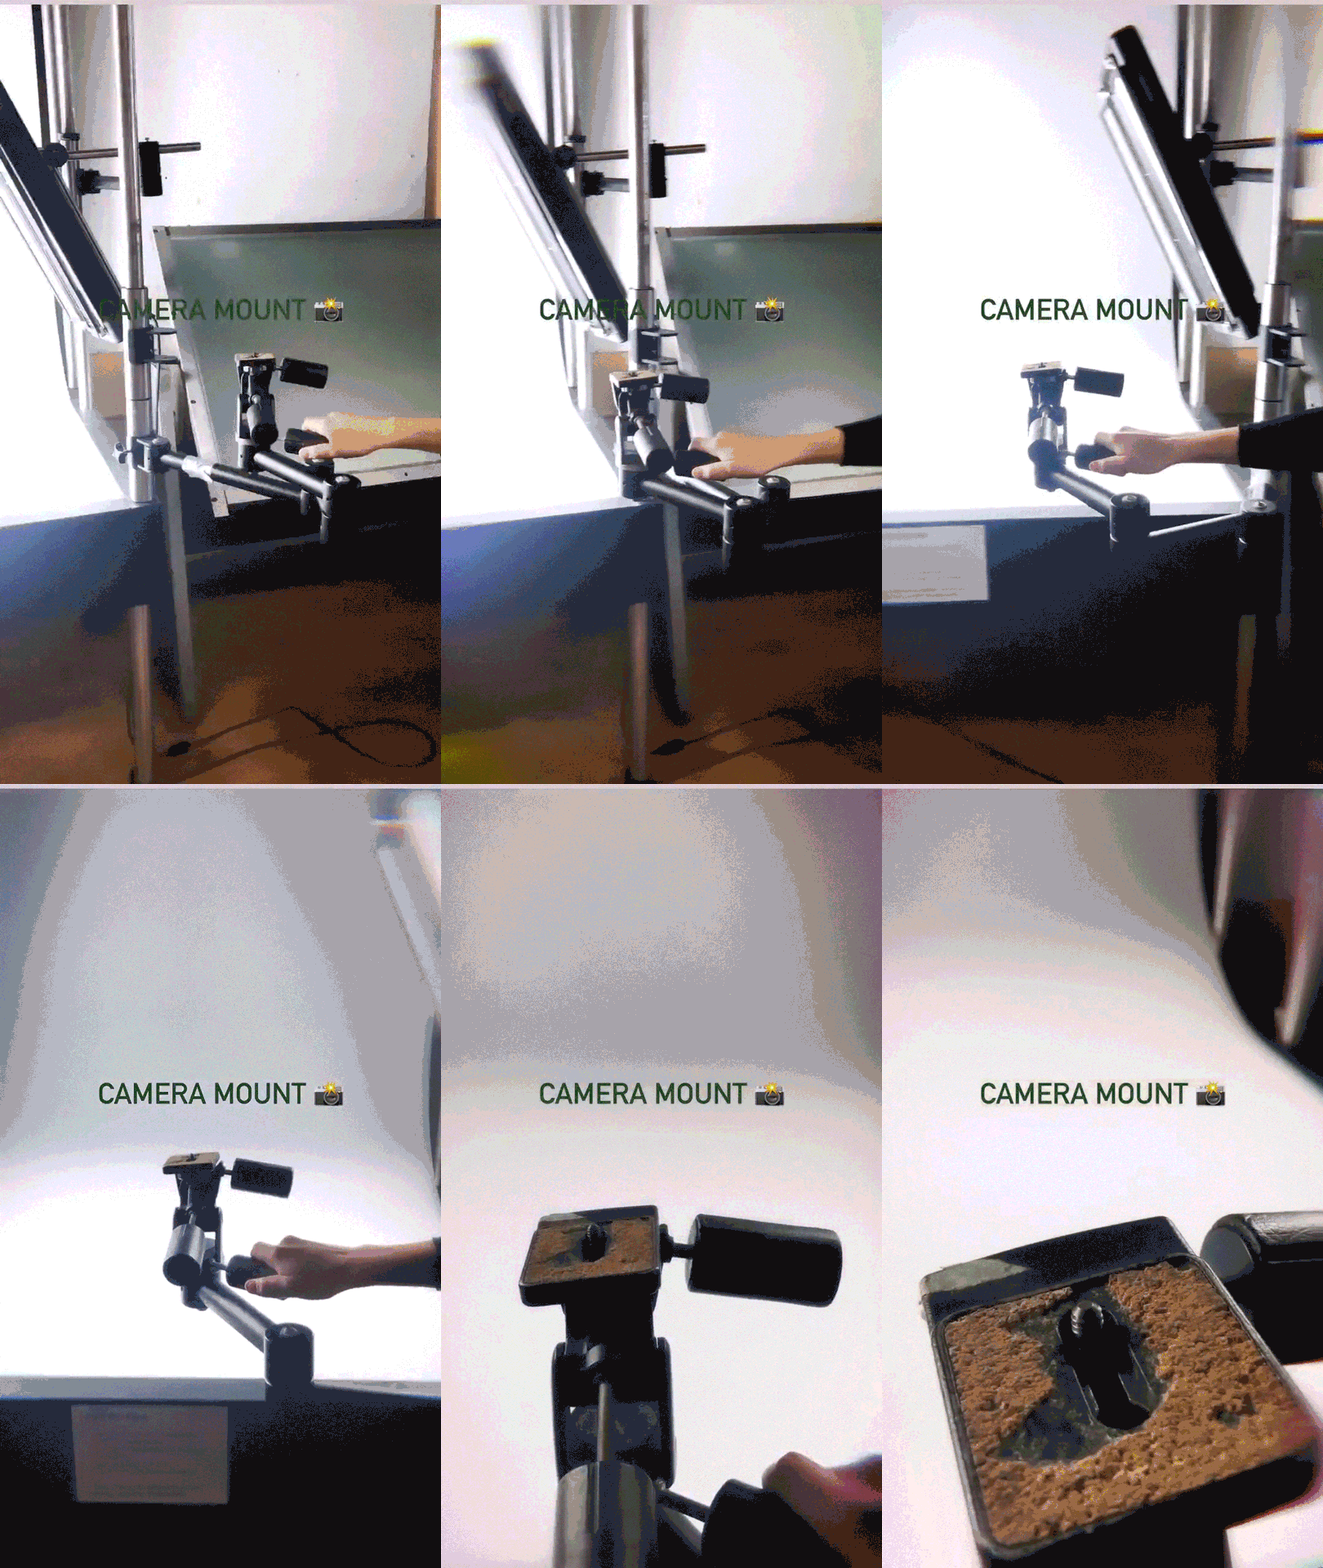
Move camera mount into place and attach your camera. (If your camera doesn’t fit the mount or you are using your phone, this step is optional.)
STEP 5
It’s time to photograph your work!
STEP 6
Once you have finished, shut off the left and right lights, and the table light. And clean up after yourself!


